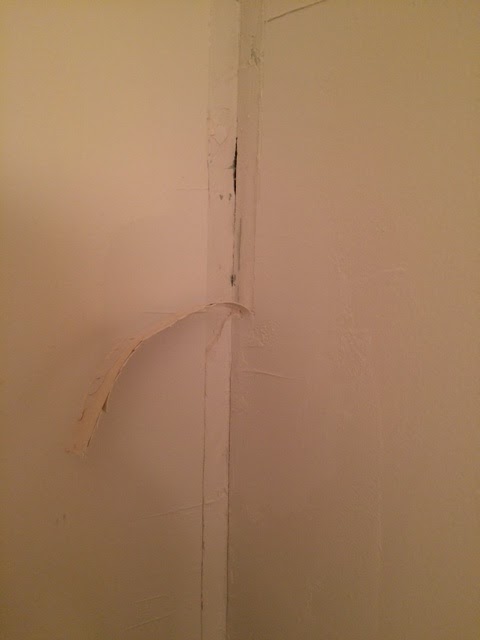
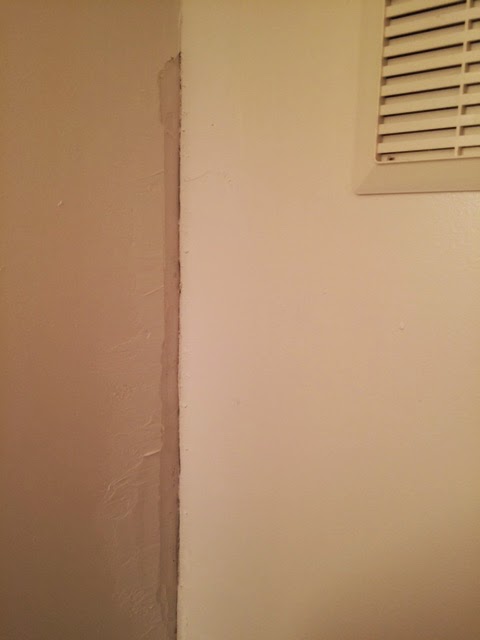
Last week when I started this mini bathroom reno on one of my many snow days at home, I began by spackling some annoying wall bubbles and seam issues, as well as the holes from the wall cabinet above the sink. Well, when I went down to admire my work over the weekend and see if it was ready to sand, I noticed some of the same ugly bubbles and cracks had reappeared! Grumble.
Hard to see in photos, but crack just above corner edge and bubbles along vertical corner.
Well, that just won't do. Fortunately, my really awesome father-in-law was in town Friday night, so I could ask him why in the world this was happening again, especially considering I'd already put 2 layers of compound on the walls! He took one look and told me what was up: the basement builders (who I lose a little bit more respect for each and every day. Remember those nail pops all over my house?? Ugh.) used drywall tape incorrectly AND, as I had found out earlier, did not wash the walls after they had sanded. These 2 problems are unrelated, but can cause complications:
- drywall is super tricky, so I can't really throw much blame for this one, but...
- not wiping down the walls after sanding leaves a film of dust can prevent paint from really sticking to the wall. It can flake off, bubble, chip, etc.
So... on to the fix. I promised myself I'd only work for 10 minutes, but we know how that goes. I took a box cutter and sadly cut out all of my hard work from the other day. I sliced out about 1.5 inches on each side of the corner from the ceiling to the floor, so as to make sure to remove all of the tape, instead of just covering it as I had done previously. Man I wish I had known! The removal is easy in theory, but also required some chopping, flicking, and peeling. I was left with a lovely mess.
Peeling tape, and the hole it leaves behind.
I then took my mud and filled in everything smooth. I actually find mudding soothing and therapeutic. I must be crazy! Something about making smooth, clean lines and angles. Ahhh. It seemed the tape was just complicating things, so I omitted it.
Just a tip: For future reference, and if you have an option when doing it yourself, I prefer to use the mesh stuff because it tends to stick better, and of course since it's mesh, no air bubbles.
An hour later (so much for 10 minutes...), I was left with some wet walls and a big mess.
Total floor disaster, but it's ok because I'll be ripping that tile out oh-so-soon!
Now I wait to see if I need to do any touch-ups tomorrow, and then maybe I can get ready to paint! Still coming soon... tile! Hooray!


No comments:
Post a Comment