Monday, August 31, 2015

Mirror frame


I have been dreaming of framing this mirror for so long! The original mirror had big scratches and scalloping all around the edges, and I knew a simple frame would cover all that up and make a huge difference.

Before you get started, you need:
  1. your frame pieces
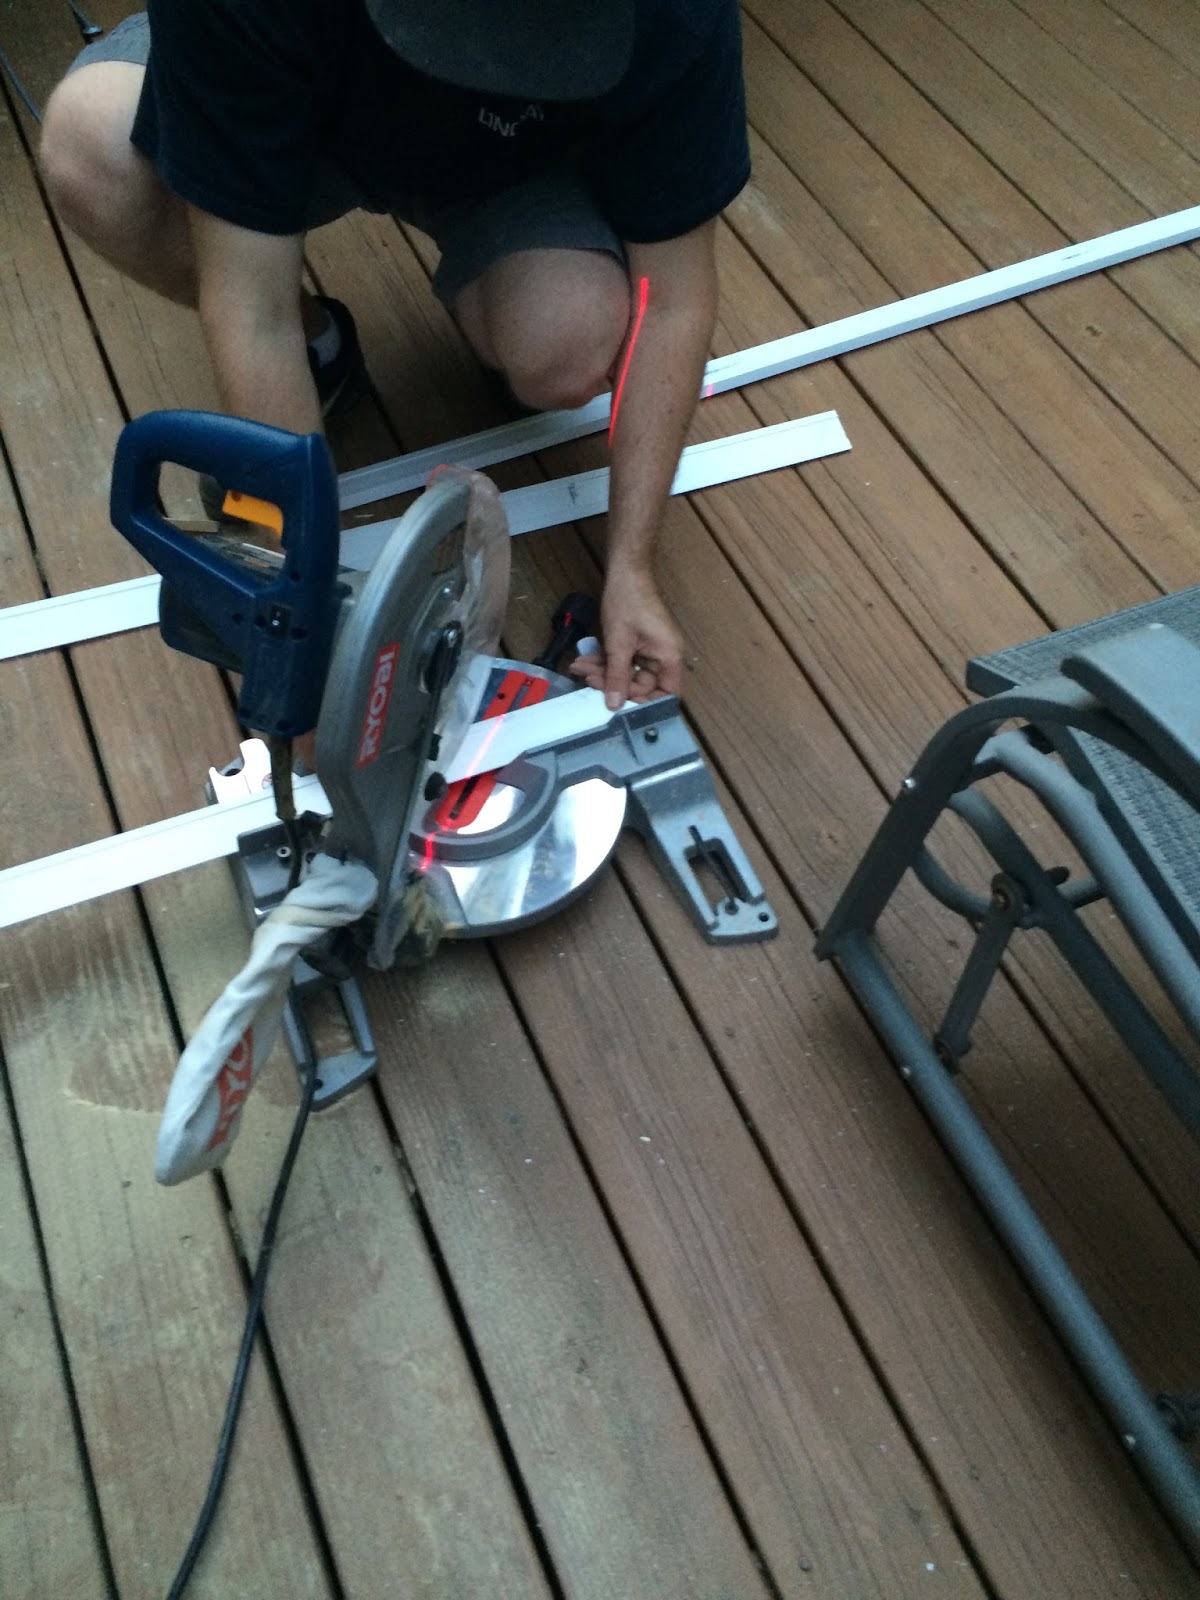
  2. a saw that will cut at a 45 degree angle
  3. liquid nails- I used the type for paneling
  4. painters tape
  5. a level
  6. measuring tape 
  7. caulk
  8. paint


Get started by measuring your mirror and marking pieces that are slightly larger. I believe we cut pieces about 2 inches larger than the measurements, adding an inch to each side. Go ahead and cut your pieces, matching up the angles at the ends so they'll fit together nicely. Check afterwards to make sure your corresponding pieces are the same lengths so that the frame will be square!


I always paint my pieces right after cutting, because it saves the mess of cleaning up paint later. After everything is dry, measure the halfway point in your mirror edge AND your bottom frame piece. I marked mine with the straight edge of the blue tape. You'll want these straight edges to line up when gluing so the frame will be centered.


Clean your mirror off so your pieces can adhere well. You can dry fit your pieces with the help of blue tape to make sure they all fit. When you're ready to glue, loop several pieces of blue painters tape on the back of your frame piece to help it stick to the mirror during gluing.


Squeeze out your liquid nails along the frame piece, being careful to apply enough, but not SO much that it squishes out all over your clean mirror. Check your level and your alignment.


Apply extra pieces of blue tape to hold everything in place. Allow the bottom to fully dry before attempting to glue in other pieces, as the bottom piece is your main support. It's also important to always check that a piece is level before gluing!


When all four pieces are dry, you can touch up any paint and caulk any gaps in the corners. This will give the frame a seamless look and hide any flaws :)


Despite the rest of the mess, the mirror looks pretty impeccable, and the whole thing could be done in a weekend.

Up next, granite and finalizing! 

Tuesday, August 18, 2015

Hooray, tile floor!


After laying the backerboard in our last post, we were immediately ready for tile. I find laying tile to be super therapeutic and easy, once you get the steps down: 1. dry fit 2. mortar, [wait] 3. seal, [wait] 4. grout. Make sure you have all your supplies nearby for each step, because things move quickly once you mix everything up and you don't want to spend time scrambling to find what you need.

Here's how it normally goes:

Step 1:
I like to dry fit all the tile first with the spacers, making all cuts to ensure everything fits. It takes some time, but you can see how your pattern and edges will look before it's too late.


They say for stability reasons, your tile joints (read: spaces between your tiles) shouldn't be too close together in adjacent rows, so we tried hard to randomize our pattern. I realized during our first tile job that we were not using our spacers properly, and so I had bought the wrong size. Well, now that we have them I'm just going to continue using them incorrectly so as to not have to buy new ones! So don't pay much attention to that part in our photos. That's what we get for learning as we go!


We mark all our cuts with a pencil so that it wipes off easily, and Adam is our official cutter while I lay everything out.

Step 2:
Once the whole thing is placed the way you want it, pull the tiles back up. I like to do it 2-3 rows at a time, laying each row on the ones beside it so that the pieces all go back in the right spots when you're ready to mortar.

Dry-fitted tiles with spacers, before the glue.
You can then mix your mortar, or if you have pre-mixed mortar even better. With your trowel, spread it out even and stick your tiles down, grabbing them in order from the neighboring rows. Before laying each tile, I like to "back-butter" it to make sure the corners have as much goop on them as the rest of the tile. This will prevent the breaking of corners in the future.

I swear, the mortar-spreading is almost like playing in a zen sand garden :)

Excess mortar removal with plastic knife
After everything is glued down, we use our high-tech tools to scrape the excess mortar out from between the tiles and from the top. These high-tech tools = plastic knives, which are, for some reason, abundant in our home. The glue removal is much easier to do before everything dries, as opposed to after it hardens. Wait at least 24 hours after mortaring, per your mortar's directions, before stepping on the tile and before doing anything else to it.

Step 3:
Sealing comes next and is critical when using natural stone tiles, but is still important to help protect porcelain or ceramic tiles. Just wipe it on each tile and joint with a towel, brush, or sponge, and walk away. Wait 24 hours, or whatever your sealant instructions say, before the next step. This wasn't significant enough to take a photo for our porcelain tiles, but I know for our backsplash it was imperative, or else the grout would've stained the white marble tile.

Step 4:
And then there's grout, the home stretch. Mix your grout, and then using a grout float, spread it into all the creases of your tile, including the room's edges, making sure all seams are evenly filled. This is another zen-like process of smoothing and pushing stuff around. It's very soothing!


Afterwards, wipe the grout slime off with a wet sponge, rinsing the sponge in warm water and wringing it out between swipes. A few hours later, you can give it a final wipe down to get off the excess. You'll still have a haze on the tiles after the grout dries, but it will come off over time and with wiping.


Let that dry for 24 hours, and you're ready. It's important to know that your grout will likely lighten overnight, so take that into consideration when selecting your color. I was scared and unhappy immediately after the first time I grouted, only to walk in the next day and be incredibly relieved.

We then painted and installed our baseboards and plumbed up our toilet. Yesssss! We love our new soft close toilet seat, too.


And we are now VERY close to a finished bathroom! A few minor details and a sink/countertop, and we'll be all set.


Final reveal up next!

Monday, August 10, 2015

Floor Prep


When we last blogged, we had demo-ed the bathroom and discovered a nice patch of rotted wood in our subfloor. It took us some time to figure out how we wanted to proceed with patching it and preparing the rest of the floor for tile, but we did it and it looks awesome. Here's what we did.

A reminder of the issue at hand:


This was NOT exactly the solid foundation for a sparkly new floor that we were looking for.
Step 1: Subfloors.

To attack the problem, Adam sawed and pried out the patch of bad wood, exposing the drywall to our living room ceiling, the plumbing and HVAC, and the floor joists.


The water damage had been so bad that it had rusted a hole in our HVAC. No wonder we were having A/C problems. Duct tape to the rescue! That was my job, otherwise I sat back and took pictures. :) I don't trust myself to do important things with a saw yet!


The metal ring for the plumbing had to go on top of the board, so Adam had to get creative with his piecework to get the board underneath; he couldn't just lay one board down. First, hubs screwed in a couple of extra supports between the joists to help hold up the new floor boards. He then measured and cut one board, and then sawed that board in half, and then sawed one of the halves in an L-shape so he could fit it in, since the tub was in the way.


Sliding in the second side was much easier without the tub interference, and then Adam was able to screw everything down into the joists.

Ta-da!
While Adam was doing all this, I was in the bedroom building some furniture. We bought two 24" cabinets from Home Depot that we needed to build ourselves. Originally, the bathroom only had one, so we were looking forward to some extra storage and cat litter concealment.


Then we were ready for Step 2: Backer board.

Concrete backer board is a preliminary step to tile. It keeps water from reaching through to and damaging the sub floors (mostly. As you can see, it still can happen) and also adds extra smoothness and support to the floor. We got 1/4 inch boards, which you can score with a box cutter and break easily with some force. For our teeny bathroom, we only needed 2 boards!


We had to get a little crazy with the sawing, though, since we needed the hole for the toilet and didn't want the board to break. Talk about a trust exercise!

 Fortunately, no one was harmed (yet) in the making of this bathroom. 

We glued the boards to the floor with Liquid Nails and Adam screwed them down so they were nice and secure. I then taped the seams with concrete board tape and mortared them to give a solid, smooth surface.


 Ready for tile! And we've already started, so look for a post soon...