Saturday, July 25, 2015

Demo and Complications

We demo-ed our bathroom Sunday night, sort of as an after thought to a busy weekend. After our last demo took 6 weeks of chiseling due to the concrete floor, we were expecting this to be a long, strenuous process. The plan was to get started and do all the mostly quiet work so any loud machine work could be done later. Fortunately, this one only took 2 hours. Hooray!!!  

Here's a little reminder of what we started with: a bathroom that didn't make a whole lot of sense. There were 3 towel bars and one small cabinet, leaving an awkward space under the counter that was of no use (except for kitty litter).


Now on to the demo. We took out the mirror first and put it in a safe place, as I do plan to try to fix and reuse it. It's perfectly fine besides the edges. Then I unscrewed the multiple towel bars while Adam worked on the counter and got the cabinet going. After, Adam and I took out the toilet, and finally I got down to the tile.


The cabinet gave him some trouble, as we had lent almost all of our saws to multiple family members, so he had to get a little creative. Needless to say, we were not able to salvage the cabinet!

Finally, for tile removal, I pried while Adam carried everything down the stairs and out to the curb. I was so excited to see wood, not concrete, under that tile, that I just went to hacking!


By the time Adam got back up after taking the cabinet down, I had the whole floor in one sheet leaning on my pry bar, and I had no idea what to do with it! We ended up chopping it up into smaller pieces and taking it outside. Tile removal was really a 6 minute thing, and it was fantastic.


HOWEVER, after we stepped back and admired our work, we noticed a smelly, dark spot in our sub-floor. Then we poked it and, boom, a hole! Really warped baseboards beside the toilet told us that we were going to have some water damage, but we couldn't tell how bad it would be. At least we were somewhat prepared!


Flashback to when we bought the house: during our home inspection, we noticed that literally none of the toilets in the house were functioning properly. This particular one was leaking from the tank all over the floor (which we had them fix) and would not flush properly (which they tried to fix but failed).
Uh oh.
We let it go knowing that we wouldn't use it much and would be replacing the whole bathroom soon. Flash-forward to rotted and moldy sub-floor boards. The wonky toilet was probably an ongoing problem years before we moved in, so the sub-floor never had the opportunity to dry out.

Turns out, it should be a relatively easy fix. I'll follow up here soon in a few days to let you know just exactly how we replace it. Let's hope it goes smoothly!

Wednesday, July 15, 2015

Bathroom #2 befores

I vow to be a better blogger this time. I swear I will try hard.

We are getting ready to start full bathroom reno #2 in this house. Our last disaster bathroom was our "practice," and it's a very good thing. Despite the beautiful results, the process was a nightmare. We are now anticipating double the amount of time to finish this one, and a much larger budget.

But first, some before photos. I'm very proud of myself for taking these, because I never quite remember the befores until I'm halfway through the demo! This bathroom has been our guest bathroom for the past year, and also our cats' bathroom. It's not the cutest thing ever, but it's been mostly functional. It will remain the kitty toilet space and a place for future kids to use, but we have plans to make it a more discreet litter spot, and much more fashionable.

Not terrible, but not impressive.

I hate this light.
The shower is fine and will remain the same, but everything else will change.
Kitty litter, light wood cabinet, scratched plastic counter, rusty faucet, chipped mirror.
Again, fine, but not great.
 Now on to the fun part. Remember my last far too small budget? We are aiming for under $1500 for this renovation. Here's the breakdown:
  • Wall paint: ~$50 Benjamin Moore.
  • Tile floor: ~$60 at Home Depot. Purchased! Need grout and perhaps mortar, though we have some. ~$25
  • Baseboards: ~$20 or perhaps we will go with a tile trim? ~$30. Unsure.
  • Vanity: ~$300 at Home Depot. Purchased!
  • Countertop: ~$500. We're planning for granite or marble. Ouch! Still need to price shop here.
  • Lighting: ~$100. Increasing this after our last attempt.
  • Toilet: ~$200. Same ol' golf ball flusher.
  • Faucet: ~$30 at Home Depot. Purchased!
  • Mirror: reusing and framing with left over trim that we already have. 
  • TP holder: ~$30
  • Towel bar/shelf?: ~$30
  • Shower rod: ~$20
  • I have decor ideas in mind and in boxes, so I'm hoping they work with the whole look. If not, I plan to have an extra $$ ready, just in case.
The vanity and countertop are going to be the big ticket items here, so let's hope we get a good deal on the counters!

Coming soon, demo and step-by-step instructions :)


Saturday, July 4, 2015

Bathroom: Complete!

Our original time frame for this bathroom was about a month, but I am now seeing that, from start to absolute finish it was more like 3! It took me a super long time to get all the little details straight in this bathroom. We've had it "done" since May, but not exactly finished.

Finally, this week, I got photos for our frame and hung our little towel shelf. We may still add another glass shelf below the mirror if we realize we need more storage, but until then we are all set. Check out the finished project below, with the before and after alongside. (Super small bathroom = tricky photos.) What a difference!

This was a semi-before taken while I was doing drywall work, but note the monstrous vanity sink and very high mirror. We minimized that with a pedestal sink so the toilet and shower would both be accessible. I also adore the new light.  

Before, you could barely get to the toilet with the sink in the way. What a cluttered mess! We changed out the toilet and replaced the shelves with a sleek glass shelf & towel bar combo. Flush mount TP holder gives even more space, with 2 extra rolls on a bar beside the tank.

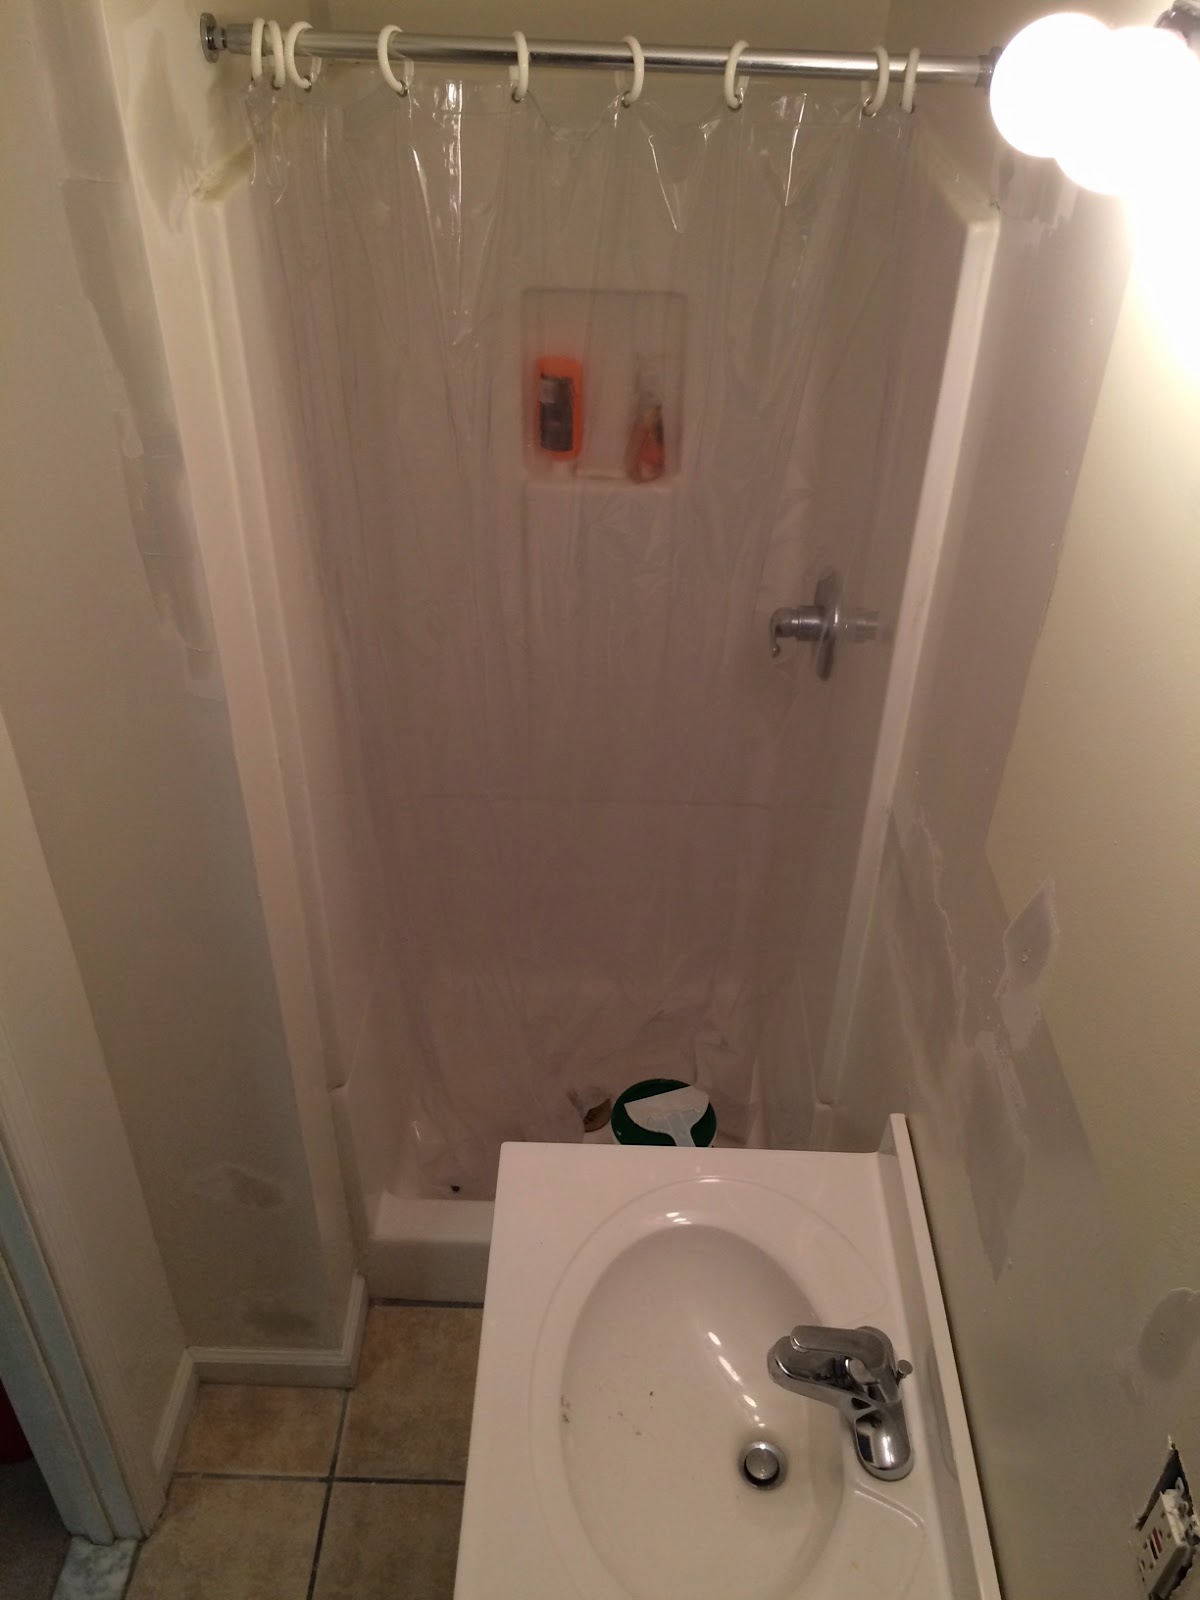
The shower was a minimal change, but we moved the bar up and out to conceal the shower a bit, and the mesh portion gives the shower light without having to be completely see-through! Not pictured is the towel hook mounted beside the shower. 

Let's remember that our original (naive) budget idea was $500. Here's how it all turned out:

  • Wall paint: estimated at ~$30 at HD. Actually $50 at Benjamin Moore. Worth it!
  • Self-leveling concrete: not included in estimate. Actually $25 + $9 for primer. Both LevelQuik at HD.
  • Tile floor: estimated at ~$60 at Home Depot. Actually $35 for Marazzi tile and $15 for grout. We already had mortar laying around.
  • Baseboards: not included in estimate. Actually $20 at HD for MDF, per Adam's request.
  • Pedestal sink: estimated at ~$60. Actually $54 for Glacier Bay pedestal.
  • Lighting: estimated at ~$30. Actually $50 at HD.
  • Toilet: estimated at ~$100 at Home Depot. Actual price $199 at HD. Splurge here.
  • Faucet: estimated at ~$30. Actual price $25 at HD.
  • Mirror: estimated at ~$30 at Lowes. Actual price, $30 from HD for a beautiful oval. Yay!
  • TP holder: estimated at ~$20. Actual price $25 at Amazon.
  • Towel bar: estimated at ~$20. Actual price, $24 for shelf + towel bar, and $9 for towel hooks.
  • Other decorative items were gifts, with the exception of the shower curtain and rod, $20 from Bed Bath and Beyond, and $10 from HD. 
Estimated total reno: $380 with some wiggle room.       
Actual reno: $600 exactly, with all materials included.

We clearly forgot about some items in our estimate, and so we totally went over. Since this was our first bathroom reno, we had NO idea what to expect! We could've done a few things differently to save about $150, but we had extra set aside just in case, so it wasn't a big deal.

For example, we could've gone with a cheaper paint, but since I had done so much drywall work, I wanted a quality paint that would cover imperfections. Benjamin Moore paint is truly fantastic, so it was worth it! You can barely see my drywall work, even if you look really hard.

Also, we could've sanded and repainted our original baseboards, but Adam wanted to go with the taller ones to give the room a classier look. I agree that they look nicer, and they saved me the hours of work of getting the old ones to look decent. Totally worth $20.

And, obviously, we could've gone with a cheaper toilet. Since I designed the whole bathroom, I let Adam have his way here :-P. Toilets are very important to him!


So our next step in the house is to redo our 2nd bathroom upstairs. We are estimating about a $1000 budget and are already expecting everything to take twice as long as this one did, and even longer for the finishing touches. If we start this month, we probably can expect it to be completely finished by Christmas. Look for that starting soon! :)