

I will openly admit that I hated this desk. It was huge, yellow, and knotty, not to mention extremely out of place in our best attempt at a contemporary home. My choices were to get rid of it, to paint it, or to stain it. Seeing as it's a super solid piece of wood furniture, I decided to try my hand at staining it to see if I could improve it at all.


I disassembled the thing and brought it out to our deck for some friendly sanding. My research stated that I needed to sand it down, starting with a coarse grit and ending with super fine.
Sadly, after about 6 sheets of sandpaper and 45 minutes with my power sander, I had barely made a dent. I realized that this wasn't happening in the traditional way, so I ran out to my closest Home Depot and made friends with the paint guy. After expressing my frustration, he pointed out a paint stripper and claimed that it worked in as little as 15 minutes! So I went home and sprayed that junk on with my best gloves, and waited.


Next, you can scrape the goop- and supposedly the finish- right off with a plastic spatula. As you can see, it wasn't exactly the quick fix I had hoped for! The varnish on this desk was wildly strong, and it took THREE attempts to get everything off.
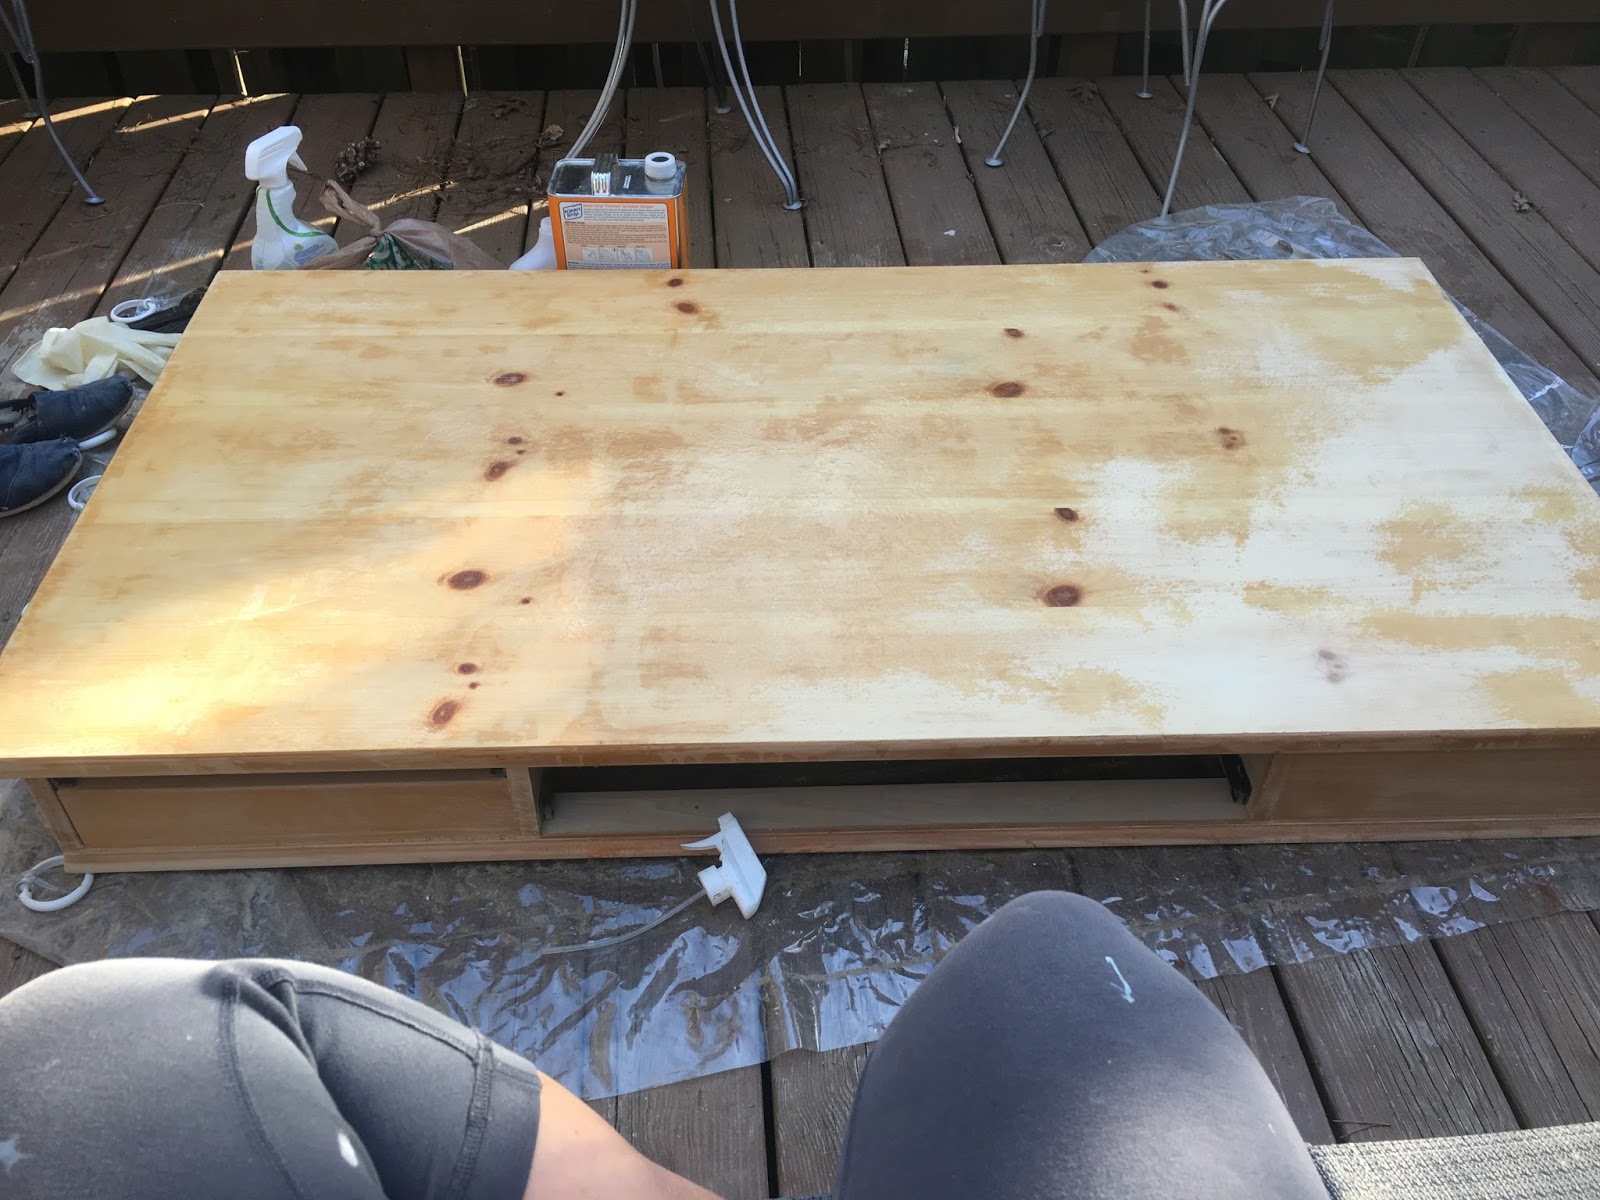
Here's a photo after my second try...

and here it is after the third. I then still had to go through the sanding process, but it was much improved from the starting point! I sanded first with 60 grit coarse paper, then moved to 90, and finally 120 fine paper.
After all that, I was left with a squeaky clean desktop! I still had to do the other pieces of it, but at least I knew it was possible.
 |
| Before and after. Knotty pine is super knotty! |
I was then ready for stain. I slapped on my first coat of stain and was unimpressed. Meh. Definitely needed more.

I ended up finishing the desk in my loft so that I wouldn't damage anything by trying to transport it all upstairs at the end. This thing is heavy! It turned out to need 3 coats of stain on everything, which was much darker than I had expected, but at least it was a rich, uniform color. I then topped it off with 3 coats of a satin polyurethane.


I waited 24 hours and then reassembled the desk, adding some crystal knobs to class it up a bit.

And voila! I have my sewing room. This is such a huge improvement from where we started. The goal was to turn our loft into a room we wanted to spend time in, and I think we've accomplished that!!
No comments:
Post a Comment