
The
new room that we're working on is a huge improvement from the original, but this is definitely
one of the more interesting features in it. We noticed that both of our
bookshelves throughout the house were overflowing, and I saw this pretty
cool post from Not So Ordinary Life that was great inspiration: a cute how-to for a half-wall bookshelf. Now the plans on this blog didn't quite work for our space, so we modified it nicely to fit our needs.
Materials needed:
- 2x10s for your base, top, sides, and vertical posts
- drywall for back, sanding and spackle tools for seams/nail holes
- 1x10 for your top cap
- 2x4s for your base shelf supports
- 2" double beveled trim
- 3" single beveled trim
- 4" baseboard
- laminate shelves at 1x10"- we used three in each section
- shelf pins
- primer
- white high gloss paint
- white baseboard/trim caulk
- long screws + screwdriver
- nail gun + nails
We
already had one half-wall built and knew the bookshelf wall would be
perpendicular to it. We measured from the existing half-wall to the
stairway to get our length, and then cut top and bottom pieces at that
length using 2x10s.
For
the verticals and sides, we measured the height of our existing half
wall (34" if I remember correctly). We then divided our total length by 4 sections, since we didn't want the shelves
to sag with the weight of the books. Each vertical post and side (5
posts total) was cut at 30" to allow for the 2" top and 2" bottom. We
screwed all this together at equal increments to make a frame, then
screwed that frame to the floor and to the pre-existing half wall for
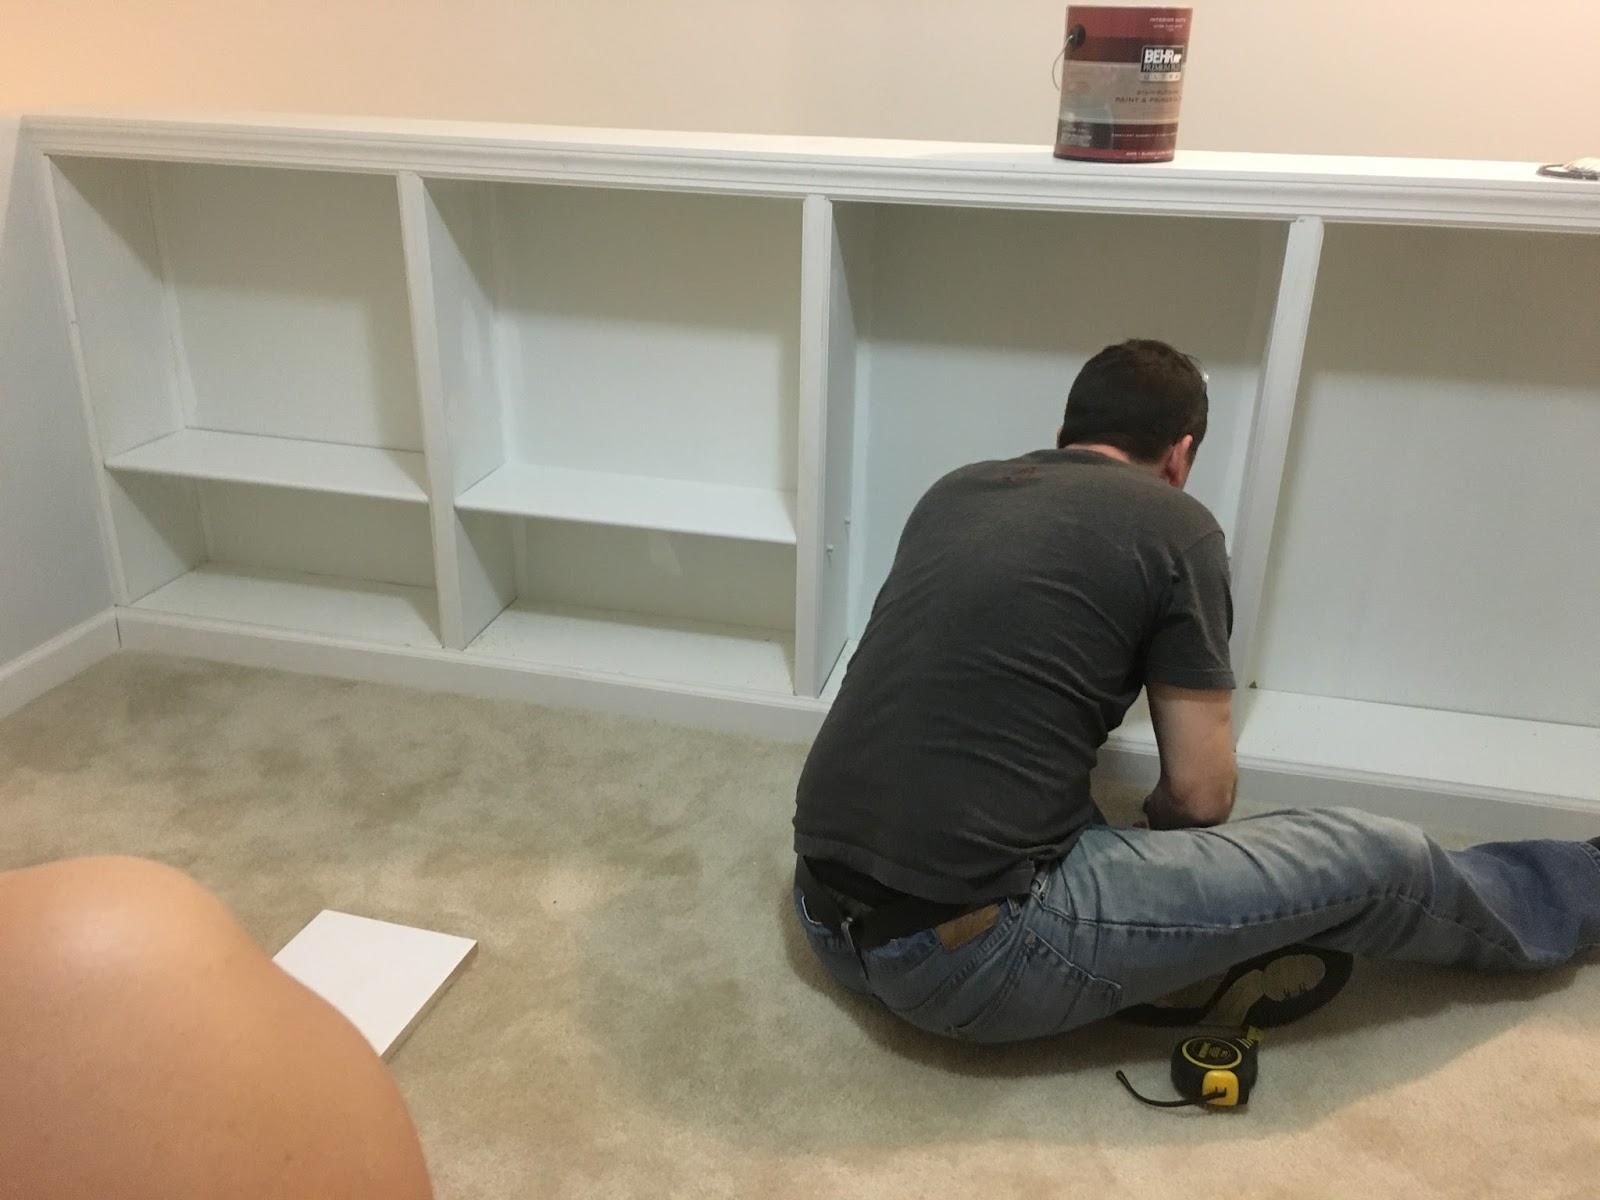
stability. Here's an action shot of hubby at work:

Once
everything was all screwed together and super sturdy, we drywalled the
back of the shelf, as well as the rest of the room. Everything was
spackled and sanded, and then the walls and the outward-facing drywall of the bookshelf were all painted light gray.

I then primed the whole dang thing, top + sides + back + underneath to make it nice and paintable. We knew we'd be adding laminate shelves later, so I didn't worry about the base yet.

The next step was trim. We wanted a solid cap piece for our half wall and
bookshelf to defend the wall from any damage by leaners. To make it, we sliced a 1x10 board to size for both walls, matching them in
the middle. Then, we nailed in a 3" wide trim piece to the top face,
being careful to line it up on top with the new top cap for a smooth feel.
Since the vertical posts were 2x10s, we found a lovely 2'' double
beveled trim, cut it to size, and placed it along the front of the vertical posts,
cutting it at an angle so that it slipped up over the top trim. This hid
any visible 2x10 and made a smooth transition between all trim pieces.
We also added a 4" baseboard to our half wall and pushed the carpet
back underneath in preparation for the bookshelf baseboard. This
involved tack strips and stretching to get the carpet back
where it was.

The wood pieces you see stacked on top here would soon become the supports for each base shelf. I screwed those in to the base at all 4 corners. You could technically just cut one for the whole length of the front and back of each section, but we only had a single 2x4 left over so we were being conservative. After, we nailed the bottom baseboard to these base pieces, allowing for a 1" overhang on top to hold the laminate shelves.

We
were then ready for the shelves. Adam sliced our shelves at the proper
width and hung them on shelf pins, making sure to level everything up.
The base shelves tucked nicely down inside the cubbies we made for them.
 |
| Sorry, my knee got in the way here. |
Meanwhile, I painted the whole inside of the shelf, all trims, and baseboards a crisp, glossy white. After allowing the shelf to dry, we hung everything up and admired. Almost there!


The final step was to caulk the crap out of it to hide any imperfections. I did this in a breezy 3 hours (guh) with the help of my cat Zoe, who was all too happy to be allowed back into her sunny spot for the first time in months.


Ta-da! Happy cat and cute bookshelf. All we are missing is books, but those will be there soon enough.

We have one more cool little feature to show you about this room before we move on to our bathroom reno. After that, you will have to wait a bit to see the whole reveal, since we won't be officially moving in until everything is complete. Here's hoping we're done and moved in by the end of summer!
No comments:
Post a Comment