
After laying the backerboard in our last post, we were immediately ready for tile. I find laying tile to be super therapeutic and easy, once you get the steps down: 1. dry fit 2. mortar, [wait] 3. seal, [wait] 4. grout. Make sure you have all your supplies nearby for each step, because things move quickly once you mix everything up and you don't want to spend time scrambling to find what you need.
Here's how it normally goes:
Step 1:
I like to dry fit all the tile first with the spacers, making all cuts to ensure everything fits. It takes some time, but you can see how your pattern and edges will look before it's too late.

They say for stability reasons, your tile joints (read: spaces between your tiles) shouldn't be too close together in adjacent rows, so we tried hard to randomize our pattern. I realized during our first tile job that we were not using our spacers properly, and so I had bought the wrong size. Well, now that we have them I'm just going to continue using them incorrectly so as to not have to buy new ones! So don't pay much attention to that part in our photos. That's what we get for learning as we go!

We mark all our cuts with a pencil so that it wipes off easily, and Adam is our official cutter while I lay everything out.
Step 2:
Once the whole thing is placed the way you want it, pull the tiles back up. I like to do it 2-3 rows at a time, laying each row on the ones beside it so that the pieces all go back in the right spots when you're ready to mortar.
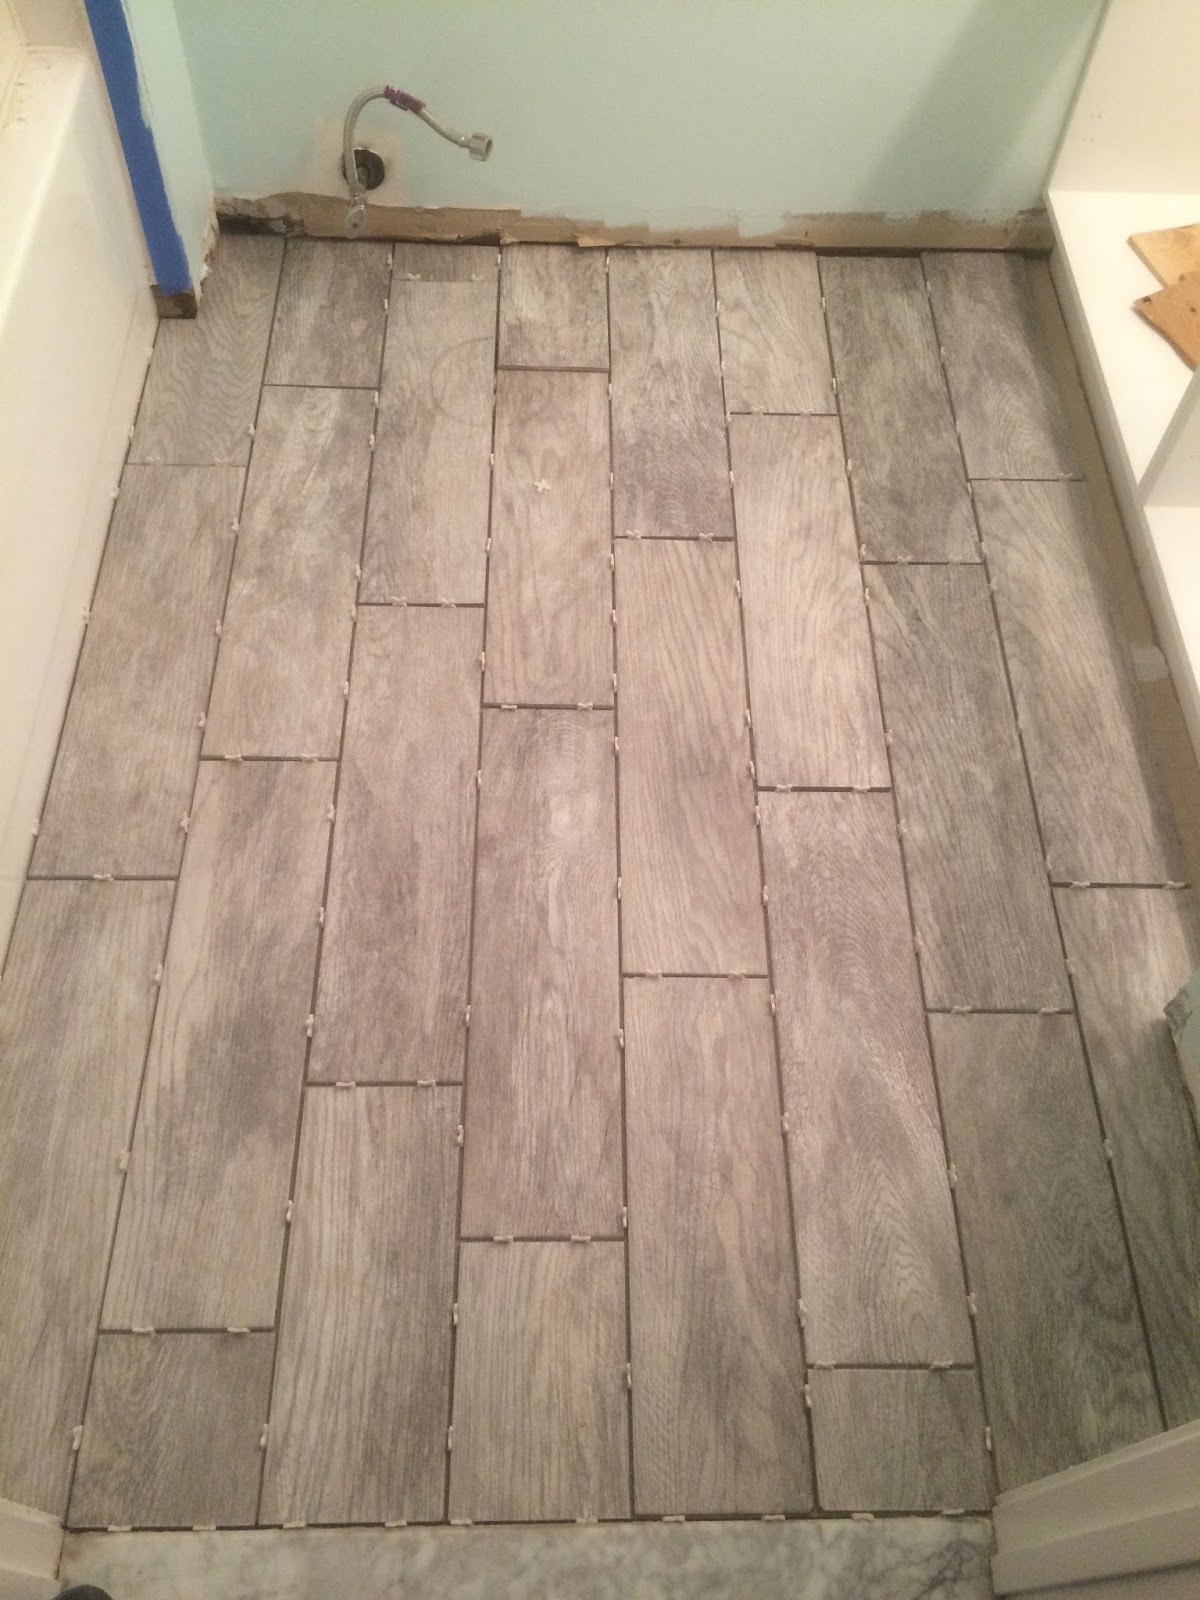 |
| Dry-fitted tiles with spacers, before the glue. |
I swear, the mortar-spreading is almost like playing in a zen sand garden :)
 |
| Excess mortar removal with plastic knife |
Step 3:
Sealing comes next and is critical when using natural stone tiles, but is still important to help protect porcelain or ceramic tiles. Just wipe it on each tile and joint with a towel, brush, or sponge, and walk away. Wait 24 hours, or whatever your sealant instructions say, before the next step. This wasn't significant enough to take a photo for our porcelain tiles, but I know for our backsplash it was imperative, or else the grout would've stained the white marble tile.
Step 4:
And then there's grout, the home stretch. Mix your grout, and then using a grout float, spread it into all the creases of your tile, including the room's edges, making sure all seams are evenly filled. This is another zen-like process of smoothing and pushing stuff around. It's very soothing!

Afterwards, wipe the grout slime off with a wet sponge, rinsing the sponge in warm water and wringing it out between swipes. A few hours later, you can give it a final wipe down to get off the excess. You'll still have a haze on the tiles after the grout dries, but it will come off over time and with wiping.

Let that dry for 24 hours, and you're ready. It's important to know that your grout will likely lighten overnight, so take that into consideration when selecting your color. I was scared and unhappy immediately after the first time I grouted, only to walk in the next day and be incredibly relieved.
We then painted and installed our baseboards and plumbed up our toilet. Yesssss! We love our new soft close toilet seat, too.


And we are now VERY close to a finished bathroom! A few minor details and a sink/countertop, and we'll be all set.

Final reveal up next!
No comments:
Post a Comment