Sunday, September 25, 2016

The guts

I last left you with something like this:


Not much! Here I'll give you the very abbreviated version of how we carried out our plans to put in recessed lights, his and hers medicine cabinets with outlets, and a pretty pocket door, all to prepare us for putting up our walls.

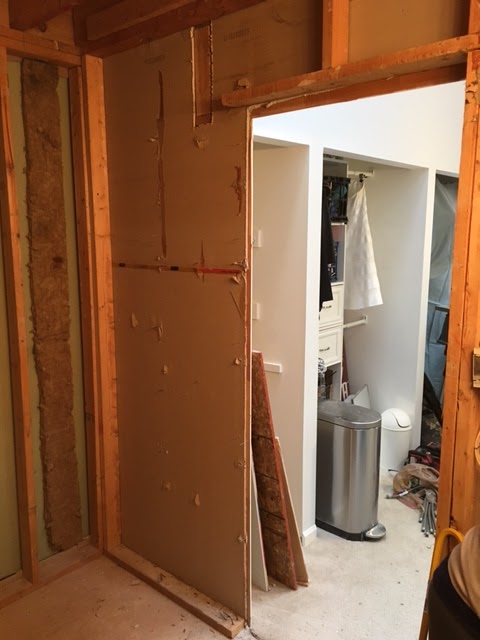
First in the doorway, we needed to make sure our 3rd floor was supported. Our best friend Home Depot sells these metal half-studs made for pocket doors, and we also placed a cross beam to keep elevated all that was supposed to be. Some extra vertical studs further back in the wall reinforced everything. We could then slide the track in and hang the door.


So pretty! Plus, it would make this mini master seem much larger.

We then moved on to our recessed lights, which pretty much just required precise measurements, hole-drilling for the wires, and some forethought. We knew we'd need wires for our medicine cabinets, so we worked that in at the same time. 


We did these medicine cabinets totally "Harry homeowner" style, but don't laugh. It wasn't worth it to spend $400 each on two new ones with outlets, so we made it work with what we had. With it all done now, you can't even tell that we just sawed a hole in the top and shoved an outlet in!


This bathroom backs up directly to what will soon be our kids' bathroom. They were complete mirror images of each other, meaning that the toilet backs right up to toilet, and the shower backs right up to shower. We really wanted to avoid being able to hear someone else pee, so we added some insulation between the walls to give us a bit of soundproofing.


So now we are ready for drywall! We first worked our way down the walls, excluding the shower, and then popped up the ceiling. More on the shower later. Then, we mudded the millions of screws and seams, which is honestly my least favorite part of all. And just like that, we were ready for some finishing touches.


The cabinet transport only gave me a few panic attacks, which you may find understandable when seeing how our incredibly expensive cabinets were strapped to the back of Adam's truck and then driven the 15 minutes at 60 mph on the highway to get them to our parking spot. SO SCARY, but everybody and thing made it safely.


We brought those bad boys upstairs, installed them, and then promptly covered them so as not to mess them up. Aren't they pretty?? 

We primed the walls and ceiling to give the illusion of a nice bathroom, even though there was still a LOT of work to do. At this point, we are ignoring the big hole where the shower should be.
 

Which brings us to a pretty solid stopping place. Next time, I'll tell you all about the whole shower process. It's a doozy!

Sunday, September 18, 2016

Master Bathroom


This post has been a long time coming! When looking back, we officially started this renovation on December 27, 2015 and finished on September 3rd, 2016. Of course, we were also in the process of renovating our whole master bedroom and loft, which was an enormous undertaking, so we didn't actually start to focus on the bathroom until March. With that said, here's our Master Bathroom Renovation!!

Our before photos are pretty weak, but you'll get the idea: all beige with a shower/tub combo, pink curtain rod, and a door taking up the majority. Not well pictured are the beat up cabinets and the two 6 inch bump outs that were built to make the cabinet and tub standard sized. Not super disgusting, but an overall blah.


We knew when we started renovating the house that this bathroom would happen at some point. Our grand plan was to extend the square footage by removing those wasteful bump outs, put in a pocket door to make the space seem bigger, and convert the tub into a standing shower. Since there were already his and hers sinks, we wanted to add an additional medicine cabinet for some extra storage. Finally, on top of all that, we wanted to put in recessed lights to again give the illusion of space.

So since the bathroom was definitely in the plans, while we were ripping out things in our loft, we just went ahead and tore out all this, too. Evvvverything about it.


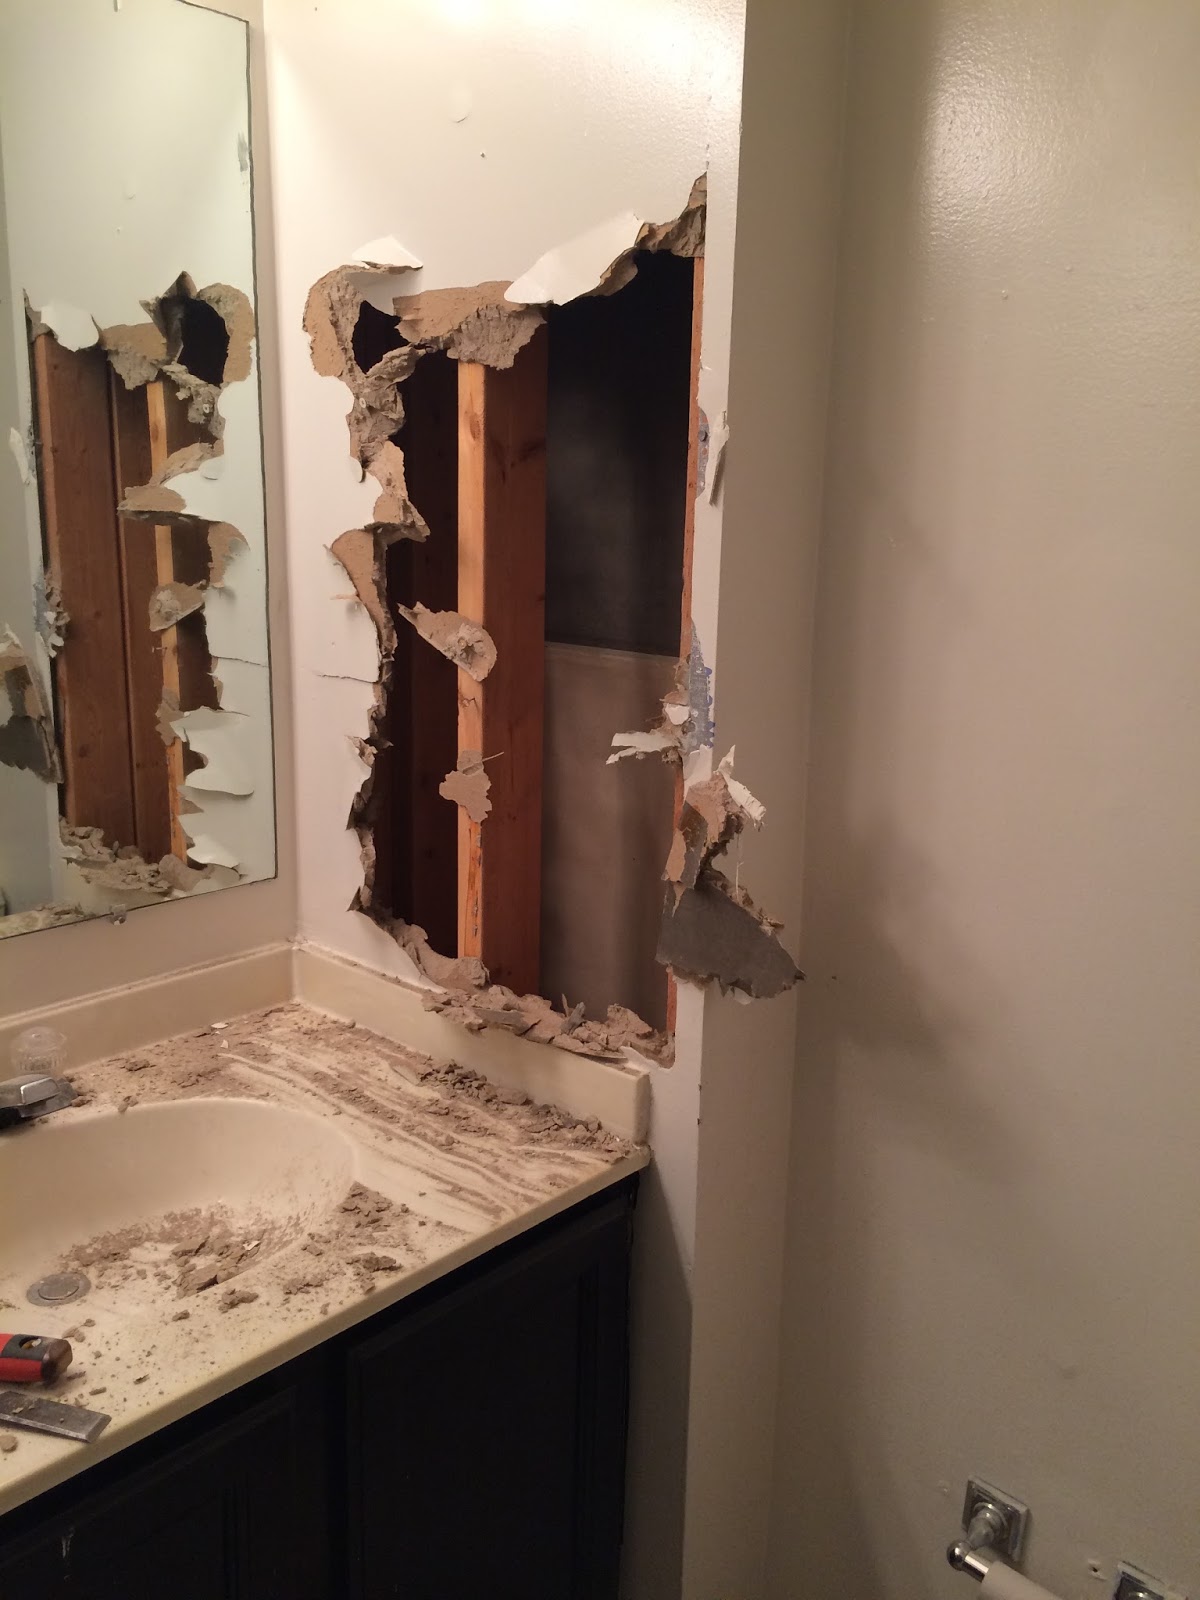
We started with the wasteful bump-outs, hoping to gain a few inches in space by ripping them out. Then we checked behind the mirror to figure out where electric was and see if we needed to totally demolish all walls to get our lights in place. The answer was yes. Womp womp.


 Next came tile demolition, with assistance from the always-helpful Sara (hi and thank you, Sara!!).


Good lookin stuff right here.

Adam and I then pulled out the rest of the walls, the tile floor, and the bathtub to see what remained.  


After a significant amount of cleanup, here's what we had:


 This hole would be our new standing shower, minus the space of the framed bump-out, though a very long time from now. Keep in mind, it is still December here. 

Our next task was the door frame and adjacent wall, so as to make room for our pocket door. The key was to carefully yank out studs without ripping out the drywall in our closet (much). Success!


And with that, we were left with no walls, no floor, a bedroom full of trash, and one crappy light. Honorable mention to that glorious $10 light fixture though...


Next time, on to the electric and reconstruction! 

Tuesday, April 12, 2016

Refinishing

You may have seen the gigantic desk in my loft from my post about our accent wall:


I will openly admit that I hated this desk. It was huge, yellow, and knotty, not to mention extremely out of place in our best attempt at a contemporary home. My choices were to get rid of it, to paint it, or to stain it. Seeing as it's a super solid piece of wood furniture, I decided to try my hand at staining it to see if I could improve it at all.


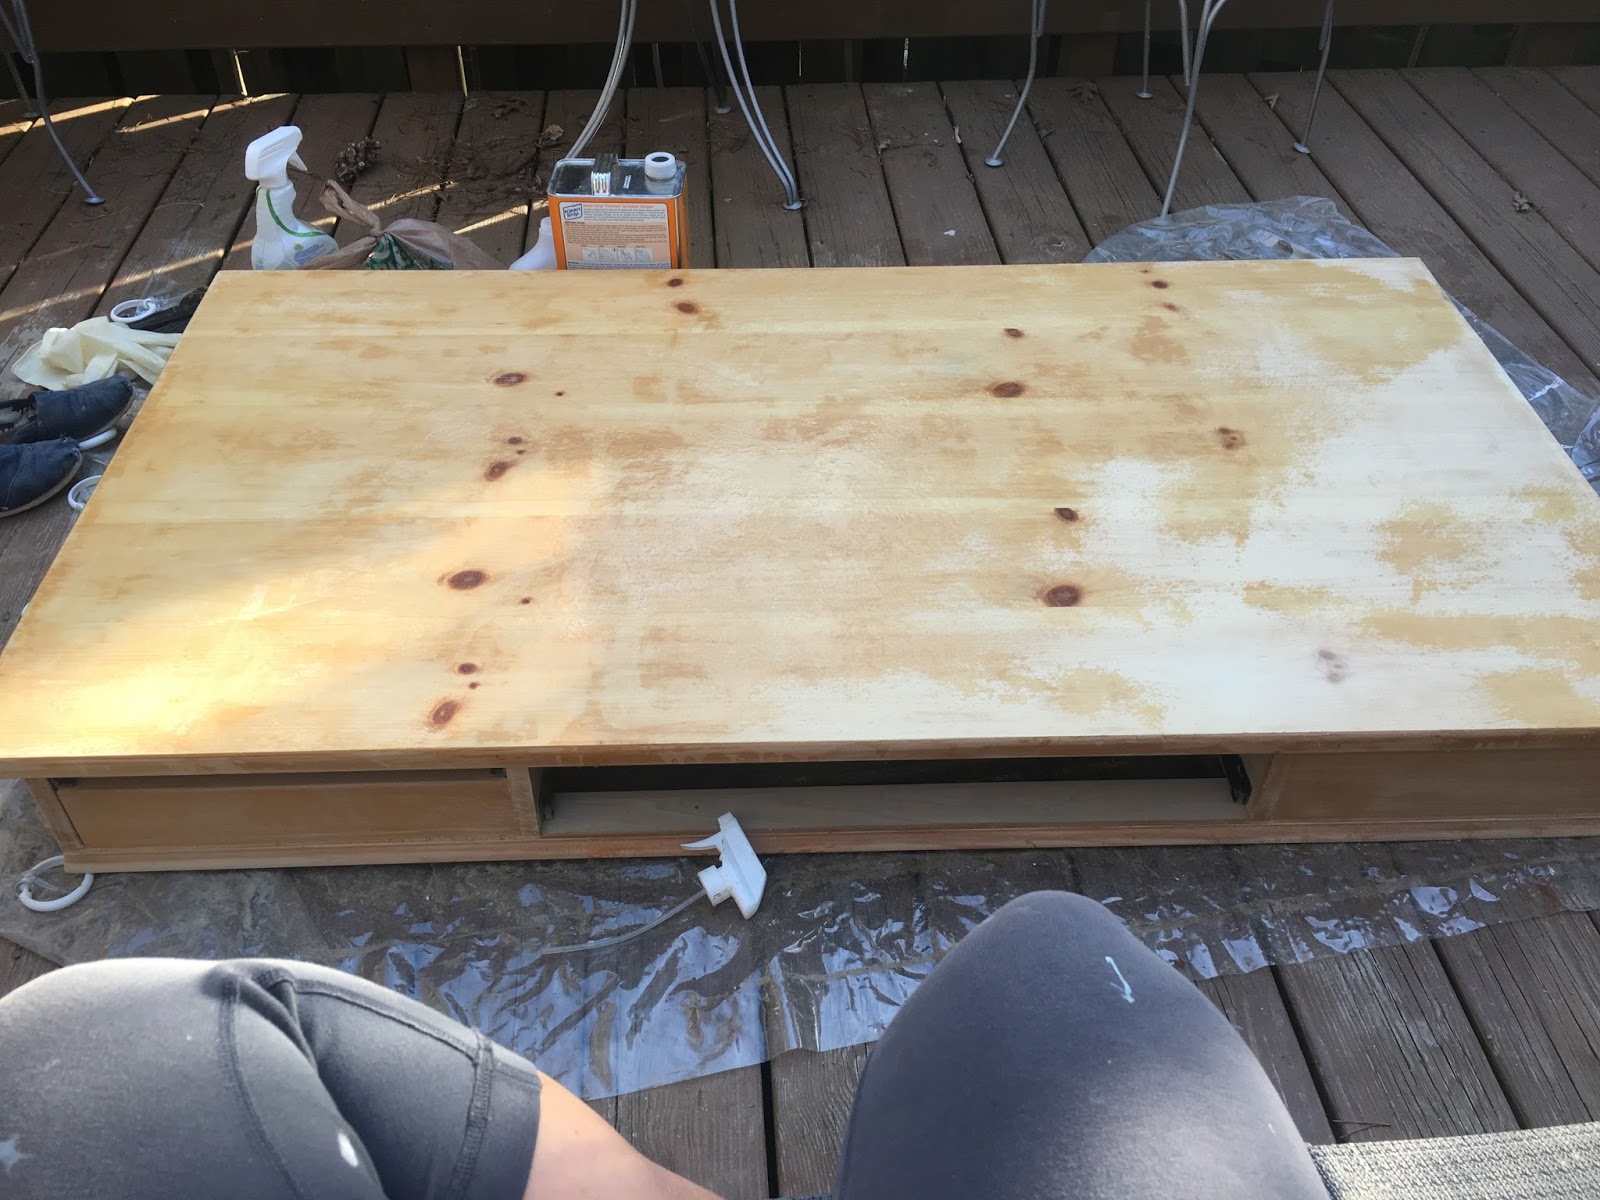
I disassembled the thing and brought it out to our deck for some friendly sanding. My research stated that I needed to sand it down, starting with a coarse grit and ending with super fine.

Sadly, after about 6 sheets of sandpaper and 45 minutes with my power sander, I had barely made a dent. I realized that this wasn't happening in the traditional way, so I ran out to my closest Home Depot and made friends with the paint guy. After expressing my frustration, he pointed out a paint stripper and claimed that it worked in as little as 15 minutes! So I went home and sprayed that junk on with my best gloves, and waited.


Next, you can scrape the goop- and supposedly the finish- right off with a plastic spatula. As you can see, it wasn't exactly the quick fix I had hoped for! The varnish on this desk was wildly strong, and it took THREE attempts to get everything off.


Here's a photo after my second try...


and here it is after the third. I then still had to go through the sanding process, but it was much improved from the starting point! I sanded first with 60 grit coarse paper, then moved to 90, and finally 120 fine paper.


After all that, I was left with a squeaky clean desktop! I still had to do the other pieces of it, but at least I knew it was possible.
Before and after. Knotty pine is super knotty!

I was then ready for stain. I slapped on my first coat of stain and was unimpressed. Meh. Definitely needed more.


I ended up finishing the desk in my loft so that I wouldn't damage anything by trying to transport it all upstairs at the end. This thing is heavy! It turned out to need 3 coats of stain on everything, which was much darker than I had expected, but at least it was a rich, uniform color. I then topped it off with 3 coats of a satin polyurethane.

I waited 24 hours and then reassembled the desk, adding some crystal knobs to class it up a bit.


And voila! I have my sewing room. This is such a huge improvement from where we started. The goal was to turn our loft into a room we wanted to spend time in, and I think we've accomplished that!!

Thursday, March 17, 2016

Herringbone wall


Yay! I'm so excited about this post! I saw some cool home blogs on Pinterest over my very long blizzard break that detailed the steps of taping off a patterned wall. Since I had loads of time, I immediately thought "Yup, I can do this," and I started my planning process. There are a number of cool patterns you can do, but the herringbone one fits our house the best.

Besides your 2 paint colors and rollers, you need:
  • a good measuring tape
  • a level
  • a pencil
  • painter's tape with edge lock. I went with the narrower tape (~1" thick) because I thought it would look better
As for paint color choices, I've seen this done with a flat and a high gloss of the same color, and it looks awesome too!
The project space began as a nasty beige wall in our ho-hum loft. I can't tell you how much I hate beige! This space was really just a carpeted storage unit, as we had no plan for it and didn't really like its layout. A great accent wall would definitely help!

The best "before" that I have. It's the wall to the right, behind all the junk!

I started by clearing away all that junk, and then I painted the wall a crisp white. One coat of paint is enough, because you are ultimately painting over it.

A beautiful white wall. NO MORE BEIGE!

Since I'm a teacher and all my teacher friends had cabin fever after a week off, I invited over a close friend who needed to get out! She helped me through the stress of measuring, calculating, and deciding how I wanted to do all of this.

I thought it looks best if you work with a 3:4-ish ratio, about 12" h x 16" w. We first measured the wall from side to side, and then we divided it by 16". It wasn't exact, but with some wiggle room (I think it ended up at 15.75"), we wound up with 5 columns of the full V pattern, or 10 half-Vs. We marked the measurements at the top and bottom of the wall. We then added vertical tape lines at every mark and checked straightness with the level.


Next, we measured the vertical length and aimed for dividing it by a foot. It worked out to about 13" to get an even number, making 6 Vs top to bottom. I measured and marked on the tape where each V should start and finish. I then took the level and went all the way across the wall, ensuring that all Vs would start and end at the same height across the whole room.


Finally, as you can see above, we started connecting our vertical marks with tape. Instead of on the horizontal level, we went diagonally from top to bottom, using our vertical lines as a midpoint. Things got a little interesting towards the side, since the wall didn't meet the ceiling at 90 degrees, but I just eyeballed the inner angles at the base of the Vs and made them even.

Once we were done, we ran over everything with a credit card to make sure everything was seriously stuck down.

Don't mind all the junk, we ran out of storage space.

Then came the brave part: the paint. This was scary because I knew there was no turning back! I hesitated for a few days... even though the worst thing that could've happened was that I ripped all the tape off and painted it solid. But that would've been so much work wasted! I finally worked up the guts and gave the whole thing 2 coats of our gray paint.


I let it dry for only about 30 minutes and then started to rip it off. It's easier if the paint is still a bit tacky when you start to pull so it won't rip off any of the dried paint. After that dreaded first tape pull, everything was pretty easy and awesome. Just be careful when pulling off: if your paint is still a bit wet on the tape, you don't want to make a mess.


Pull everything off slowly and admire your work!


Now that it's all done, I looove this room! The bookshelf from my last post is on the opposite wall too, so it's a really cool spot. I am still struggling with decorating, so I will happily take any design and decor tips that you'd like to offer. This will be my sewing/craft room for now, so a desk must be against this wall. Leave me a comment with your decor suggestions!